
Resin driveways have become one of the most popular choices for homeowners across the UK. They offer a modern appearance, excellent durability, low maintenance, and strong drainage performance. Whether you are replacing an old driveway or installing a completely new surface, understanding how to lay a resin driveway properly is essential for achieving a long‑lasting result.
This guide explains everything you need to know about laying resin driveways, including preparation, materials, installation steps, costs, and common mistakes to avoid.
What Is a Resin Driveway?
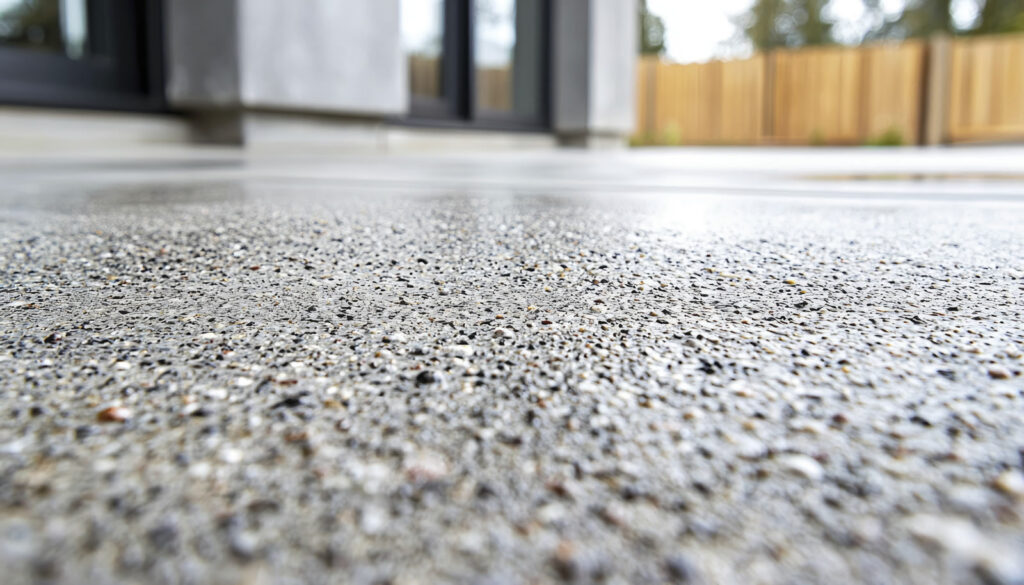
A resin driveway is created by mixing natural aggregates with a specialist resin and then applying the mixture to a prepared surface. The result is a smooth, durable, and permeable surface that allows water to drain through naturally.
There are two main types of resin driveway systems:
Resin Bound Driveways
Resin bound driveways mix aggregate stones with resin before being laid. This creates a smooth, permeable surface that is ideal for residential driveways. Resin bound systems are the most popular option in the UK.
Resin Bonded Driveways
Resin bonded driveways involve applying resin to the surface and then scattering aggregate on top. This creates a textured finish but is less permeable and generally less popular for driveways.
Most homeowners choose resin bound driveways due to their durability, appearance, and drainage benefits.
Benefits of Resin Driveways
Resin driveways offer several advantages compared to traditional driveway materials.
Resin driveways are highly durable and resistant to cracking. The flexible nature of resin allows the surface to handle temperature changes and regular vehicle use.
They are also low maintenance. Unlike block paving, resin driveways do not allow weeds to grow through joints, and the smooth surface makes cleaning easier.
Another major benefit is permeability. Resin bound driveways allow water to drain through the surface, which can help avoid planning permission requirements in many cases.
Resin driveways also offer strong visual appeal. They are available in a wide range of colours and aggregate styles, allowing homeowners to create a customised finish.
Tools and Materials Needed
Before laying a resin driveway, you will need the correct tools and materials.
Materials typically include:
- Resin binder
- Aggregate stones
- Base material (tarmac or concrete)
- Primer
- Edging restraints
Tools commonly required include:
- Forced action mixer
- Trowels
- Wheelbarrow
- Screed bars
- Power washer
- Protective gloves and equipment
Using professional equipment is important to achieve a high-quality finish.
Preparing the Driveway Base
Preparation is one of the most important steps when laying a resin driveway. A poor base will lead to cracks, movement, and premature failure.
Existing Surface Preparation
Resin driveways can be installed over:
- Existing concrete
- Existing tarmac
- New tarmac base
- New concrete base
The surface must be stable, clean, and free from cracks or loose material.
If the existing surface is damaged, repairs should be completed before installing resin.
New Driveway Base Installation
If installing a new base, the following steps are usually required:
Excavate the area to the required depth. This typically ranges from 200mm to 250mm depending on ground conditions.
Install a sub-base using MOT Type 1 material. This should be compacted thoroughly to create a stable foundation.
Install a tarmac or concrete base layer. This provides the smooth surface required for resin application.
Allow the base to fully cure before applying resin.
Installing Edging
Edging is essential for resin driveways. It prevents the resin from spreading and helps maintain a clean finish.
Common edging options include:
- Brick edging
- Aluminium edging
- Stone edging
- Concrete kerbs
Edging should be installed securely before applying resin.
Cleaning and Priming the Surface
Before laying resin, the surface must be thoroughly cleaned. This typically involves power washing to remove dirt, dust, and debris.
Once cleaned, a primer is applied to improve bonding between the resin and base surface.
Allow the primer to cure before proceeding.
Mixing the Resin and Aggregate
Resin and aggregate must be mixed using a forced action mixer. This ensures even distribution and proper bonding.
The correct ratio must be followed according to manufacturer guidelines.
Mixing typically takes several minutes to ensure consistency.
Laying the Resin Driveway
Once mixed, the resin aggregate is poured onto the prepared surface.
The material is then spread using trowels and screed bars.
The surface is smoothed to create an even finish. This step must be completed quickly, as resin begins curing within a limited time.
Professional installers usually work in teams to ensure the surface is laid efficiently.
Curing Time
Resin driveways typically cure within:
- 4 to 8 hours for foot traffic
- 24 hours for vehicle use
Curing times may vary depending on temperature and weather conditions.
Avoid using the driveway during curing.
Weather Conditions for Resin Driveways
Weather plays an important role in resin installation.
Ideal conditions include:
- Dry weather
- Mild temperatures
- Low humidity
Avoid installing resin during rain, extreme heat, or freezing conditions.
Poor weather can affect curing and finish quality.
How Long Do Resin Driveways Last?
A professionally installed resin driveway can last 15 to 25 years.
Longevity depends on:
- Installation quality
- Base preparation
- Traffic levels
- Maintenance
Proper installation significantly improves lifespan.
Maintenance Tips for Resin Driveways
Resin driveways require minimal maintenance but regular care helps extend lifespan.
Maintenance tips include:
- Sweeping regularly
- Pressure washing occasionally
- Removing weeds from edges
- Cleaning oil spills promptly
These simple steps help maintain appearance.
Common Mistakes to Avoid
Common mistakes when laying resin driveways include poor base preparation, incorrect mixing ratios, laying in poor weather, and rushing installation.
Avoiding these mistakes ensures a professional finish.
How Much Does a Resin Driveway Cost?
Resin driveway costs vary depending on:
- Size
- Base preparation
- Aggregate type
- Access
- Location
Average resin driveway costs in the UK typically range between £50 and £100 per square metre.
Using a driveway cost calculator can help estimate project pricing.
Can You Lay Resin Driveways Yourself?
While DIY resin driveway installation is possible, it is often recommended to use professional installers.
Professional installation ensures:
- Correct preparation
- Proper mixing
- Even finish
- Long lifespan
DIY installation can lead to costly mistakes.
Final Thoughts
Resin driveways offer a durable, attractive, and low-maintenance solution for homeowners. Proper preparation, correct materials, and professional installation are key to achieving a long-lasting result.
If you are planning a resin driveway and want to estimate potential costs, using a resin driveway cost calculator can provide a helpful starting point. This allows you to understand likely pricing before requesting quotes from installers.
Planning carefully and following the correct installation steps ensures your resin driveway delivers long-term performance and visual appeal.